The frequent issue DKIM authentication settings update failed” can be difficult to handle. It typically happens when you try to email, and it can frequently leave you unsure of whether your email was delivered. DKIM fail headers RSA verify is a big default.
Let’s say you encounter this issue while emailing. If so, it can be because your email provider’s DNS records, authentication servers, or other problems stated below are malfunctioning.
TABLE OF CONTENTS
-
DKIM Authentication: An Overview
-
Reasons for “DKIM Authentication Settings Update Failed”
-
How Do You Make A DKIM Record And Save It?
-
How Can I View My DKIM Authentication Settings?
-
Conclusion
-
FAQ’s
DKIM Authentication: An Overview
An email message’s legitimacy and lack of spam can be confirmed using DKIM authentication failed office 365. A DKIM-enabled email server can confirm an email originated from the sender it comes from a DKIM signature applied to it.
Overall, Russian-based emails were the source of 24.77 percent of all spam volume worldwide.
By using DKIM (DomainKeys Identified Mail), you can confirm the legitimacy of emails sent from your domain. One private key and one public key are used when emailing with DKIM authentication. The message’s header contains the public key, which is then sent with the message.
Reasons for “DKIM Authentication Settings Update Failed”
The “DKIM authentication settings update failed” warning indicates that your DKIM settings are not in sync with the servers.
List of typical causes of this mistake
- If you’re using an outdated version of your email service provider that doesn’t by default support DKIM signing, you changed your DKIM check configuration without first setting up DKIM on the new setting.
- You recently altered your DNS settings, but the modification has not yet taken effect.
- Check your domain’s status with [business name]. Wait, a little while before trying again if it’s “OK.” Ask your email provider if there are any problems with their DNS records or authentication servers if the result is “Bad.”
- If you don’t have access to that data, speak with your email provider to find out what they advise you to do.
- Make sure your DNS settings are accurate by checking them. No matter what else you do, DKIM won’t function properly if they aren’t configured properly.
- It’s time to review your spam filter settings to see if your DNS settings are correct. But you still can’t send emails with DKIM checker authentication activated. Check to see whether emails that have DKIM authentication aren’t going straight to spam!
- Ensure that the correct domain name is configured for DKIM authentication.
- See if there are any messages that state “DKIM authentication failed” or “DKIM not working” in your spam folder. If there are, try responding to them using an address other than the one connected to your account to see if they send. Your support team should correct the address if they do because it was incorrectly added.
How Do You Make A DKIM Record And Save It?
DKIM records can be generated manually or automatically. For most people, we advise adopting an automatic DKIM setup if you want to use DKIM right away. When you send emails from our system using this manner, our platform uses our platform to create a DKIM record checker.
Use the DKIM generator tool right away to create your free AI-generated DKIM record! Fill up each section to add your record to your DNS. Give your DNS at least 48 hours to take effect before saving your changes.
How Can I View My DKIM Authentication Settings?
Manual Review
To check your DKIM authentication settings, sign into your email account. After that, choose “Settings.”
Go to your settings page, scroll down until “Authentication” is visible, and then click it. You will then be directed to a different page where you may check the status of your account’s DKIM alignment failed. If it is, it will say “Yes” next to “DKIM Signing” if they enable it. It will state “No” if not.
Automated Review
Use the GoDMARC DKIM record lookup tool to examine your record if you want to have a deeper understanding of the authenticity. This program will inform you whether you already have a DNS record that is functional, accurate, and correctly configured. It is fully automatic. It emphasizes your errors to make faster work of fixing them.
Conclusion
Now you know how to enable DKIM. You should get a “Status: Authenticating email” notice if everything was added properly. If the “START AUTHENTICATION” button doesn’t work, try it again after a few minutes because it can take a while for it to identify the new key.
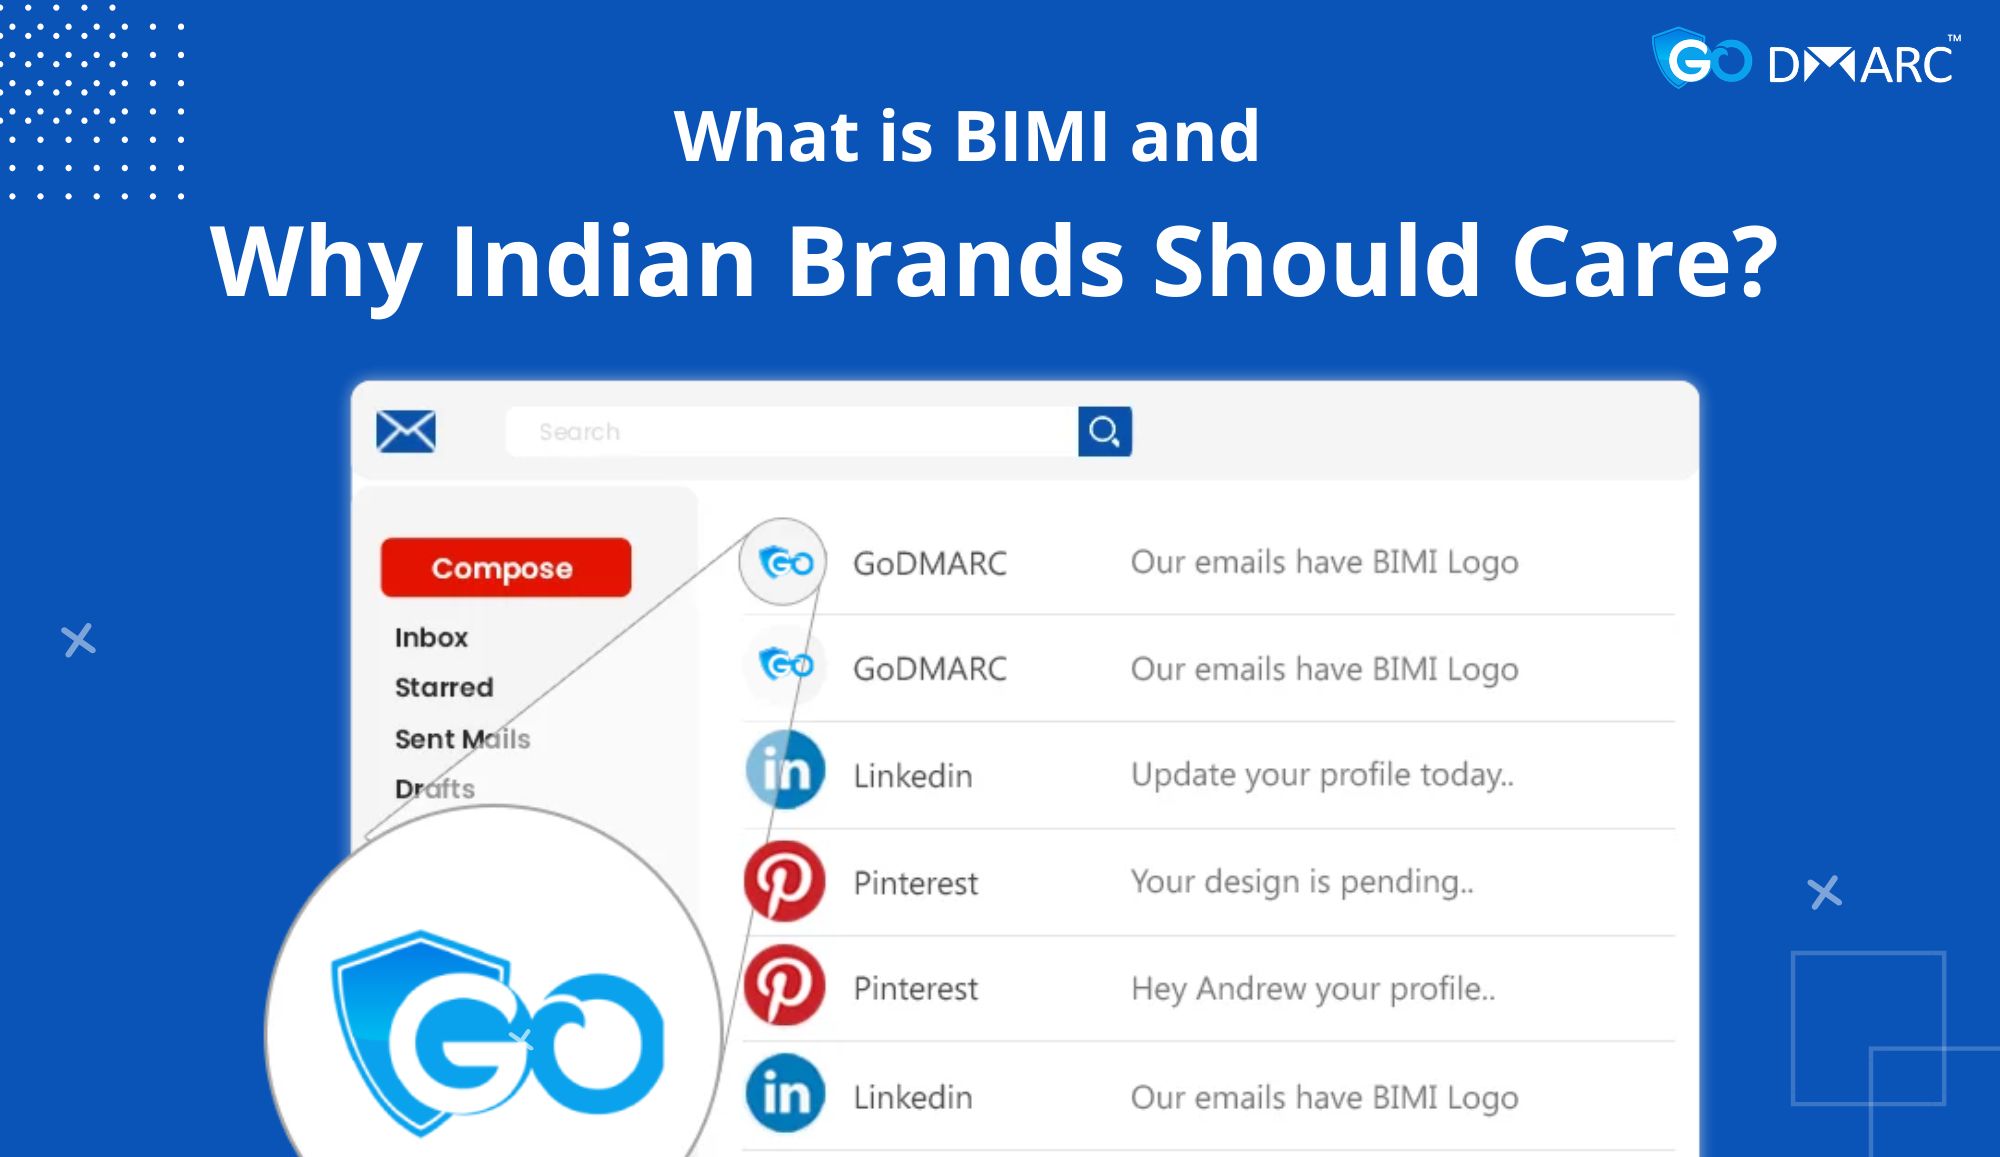
DKIM supplements SPF, the main email authentication standard, because SPF itself lacks a verification mechanism. DMARC, DKIM, SPF, BIMI, and Simulation Attack are just a few of the extensive email security features that GoDMARC has a track record of offering.
You may verify the security status of your email domain using the GoDMARC Dashboard. It also enables you to safeguard your staff and vendors from con artists while fostering transparency and trust among your customers. It’s difficult to choose from the several email authentication options. Most of them need the right SPF, DKIM, BIMI, and DMARC pricing plans, making them reliable.
FAQ’s
Q1. How quickly do DKIM updates happen?
It may take up to 48 hours for updates to reach our servers as they spread worldwide, depending on your DNS host settings.
Q2. How can I tell if my DKIM is functioning?
Emailing a Gmail account, accessing it in the web app, hitting the “respond” button, and choosing “display original” will allow you to test DKIM. If you see “signed by along with your domain name” in the original format, your DKIM test signature was verified as legitimate.
Q3. Why doesn’t my email authenticate?
A question mark shows that the message is not allowed if it appears next to the sender’s name. When an email is not verified, Gmail cannot determine whether the message actually originates from the sender. Be cautious while responding or downloading any attachments if you see this.